In this first part of the tutorial, we will create a shiny new asp.net core project that we will use moving forwards. We will then add some very basic multi-tenancy! We will expand on this in future posts. Before starting this tutortial, you may wish to read to the introduction although this isn't a necessity. Ok if you are ready, let's dive in!
Project Setup
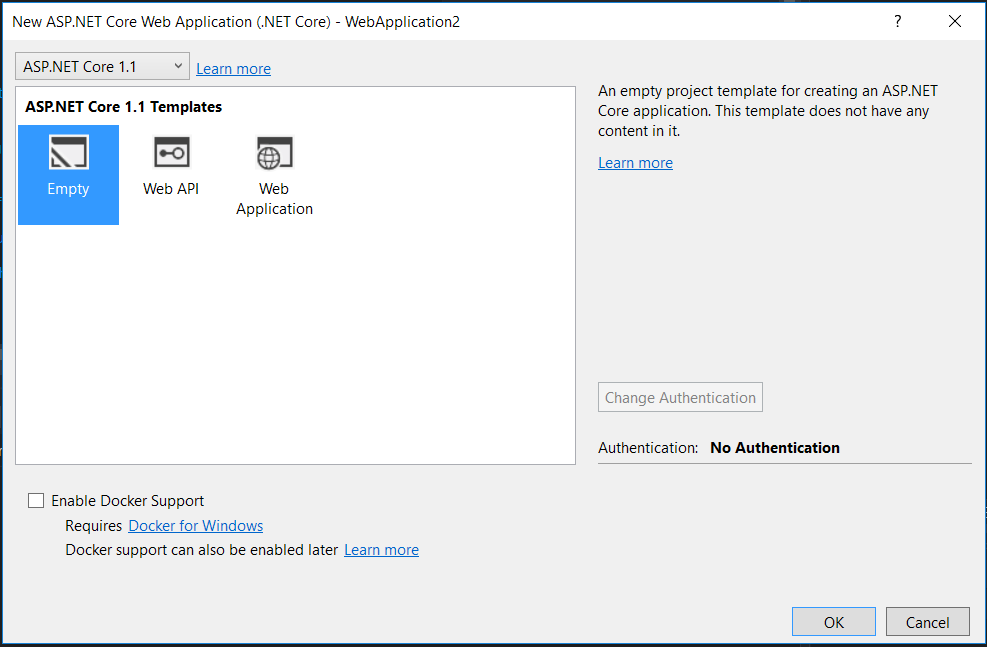
Open VS2017 and create a new "empty" ASP.NET Core Web project:
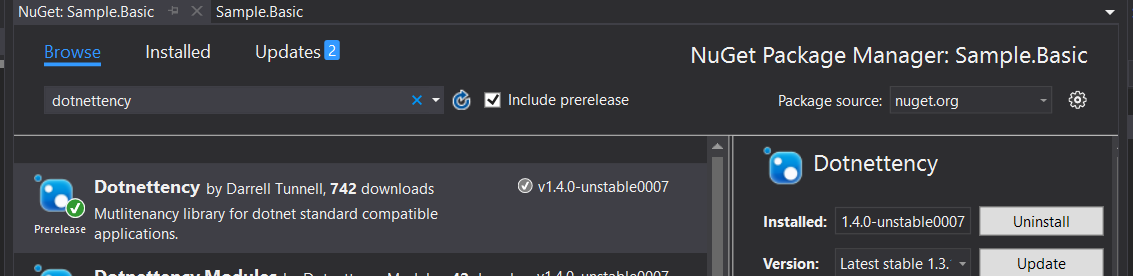
Add the dotnettency nuget package:
In Program.cs allow kestrel to listen / bind to multiple ports.
        public static void Main(string[] args)
        {
            var host = new WebHostBuilder()
                .UseKestrel()
                .UseContentRoot(Directory.GetCurrentDirectory())
                .UseIISIntegration()
                .UseStartup<Startup>()
                .UseUrls("http://*:5000", "http://*:5001", "http://*:5002", "http://*:5003")
                .Build();

            host.Run();
        }
Create a class to represent the Tenant. It can have whatever properties you feel are useful:
    public class Tenant
    {
        public Tenant(Guid tenantGuid, string name)
        {
            TenantGuid = tenantGuid;
            Name = name;
        }

        public Guid TenantGuid { get; set; }
        public string Name { get; set; }
    }
Now that we have our tenant, we need to create a class that dotnettency will use when it needs to load our tenant. Create a class that implements ITenantShellFactory<TTenant>:
    public class TenantShellFactory : ITenantShellFactory<Tenant>
    {
        public Task<TenantShell<Tenant>> Get(TenantDistinguisher distinguisher)
        {
            if (distinguisher.Uri.Port == 5000 || distinguisher.Uri.Port == 5001)
            {
                Guid tenantId = Guid.Parse("049c8cc4-3660-41c7-92f0-85430452be22");
                var tenant = new Tenant(tenantId, "Moogle");
                // Also adding any additional Uri's that should be mapped to this same tenant.
                var result = new TenantShell<Tenant>(tenant, new Uri("http://localhost:5000"),
                                                             new Uri("http://localhost:5001"));
                return Task.FromResult(result);
            }

            if (distinguisher.Uri.Port == 5002)
            {
                Guid tenantId = Guid.Parse("b17fcd22-0db1-47c0-9fef-1aa1cb09605e");
                var tenant = new Tenant(tenantId, "Gicrosoft");
                var result = new TenantShell<Tenant>(tenant);
                return Task.FromResult(result);
            }


            throw new NotImplementedException("Please make request on ports 5000 - 5003 to see various behaviour.");

        }
In our implementation above, we return Moogle when accessed on ports 5000 or 5001, and Gicrosoft when accessed on port 5002. If we are accessed under anything else (e.g port 5003) then we throw an exception for the time being. We will see in a future a couple of different options for handling unknown tenants.
When returning Moogle, we are also including other Uri's that should be automatically resolved to this Tenant.
The TenantDistinguisher is just a wrapper around a Uri and captures information about the current request by default (host, port, scheme etc). If this is not sufficient for your purposes (e.g perhaps you need to differentiate tenant's based on a cookie value or something) then this can be tailored to your precise needs, and we will look a that in a future post.
In Startup.cs, add a using statement for dotnettency:
using Dotnettency;
In ConfigureServices:
        public void ConfigureServices(IServiceCollection services)
        {
            services.AddMultiTenancy<Tenant>((multiTenancyOptions) =>
            {
                multiTenancyOptions
                    .InitialiseTenant<TenantShellFactory>();
            });
        }
In Configure we want to UseMultitenancy to add the dotnettency middleware:
        public void Configure(IApplicationBuilder app, IHostingEnvironment env, ILoggerFactory loggerFactory)
        {
            loggerFactory.AddConsole();

            if (env.IsDevelopment())
            {
                app.UseDeveloperExceptionPage();
            }

            app.UseMultitenancy<Tenant>((options) =>
            {

            });

            app.Run(async (context) =>
            {
                await context.Response.WriteAsync("Hello World!");
            });
        }
Now we are all setup, we can have fun actually injecting our Tenant.
Seeing it all in action
Change the app.Run() in startup.cs to this:
app.Run(async (context) =>
{
var tenantTask = context.RequestServices.GetRequiredService<Task<Tenant>>();
var tenant = await tenantTask;
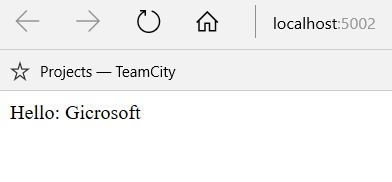
await context.Response.WriteAsync("Hello: " + tenant.Name);
});
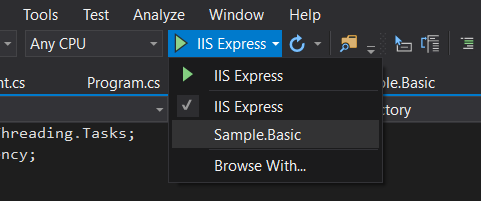
Now start the project, but before you do, double check you are runing under kestreal, if it says IISExpress then switch it:
Now browse to the site on localhost:5000 or 5001 and you will see:
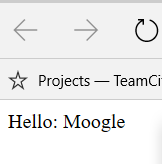
.. and on 5002 you will see:
Tenant Injection Options
With this now set up, anywhere in your application (Views, Controllers etc) where you need access to the current Tenant you can inject any of the following:
- Inject
Task<TTenant>which gives you non-blocking access to the currentTenant(recommended) - Inject
TTenantdirectly. (Has potential to be blocking so not recommended) - Inject
ITenantAccessor<TTenant>if you would prefer to inject something more descriptive thanTask<TTenant>then inject this. It provides access to the sameTask<TTenant>(via aLazyproperty) that you can await to get access to the currentTTenant.
What Next?
In the next post, I will show you how to extend this sample to identify tenants based on some information that isn't available from a normal request Uri - like a cookie.
Overall, we still have a lot of dotnettency features to get through in this series. So stay tuned for things like:
- Per Tenant Container / Services
- Per Tenant Middleware
- Per Tenant
IHostingEnvironment(for sandboxing file access) - Modules (Shared and Routed)